Creating Oceans From Scratch
This guide will continue the process of creating a new Terra config pack from the beginning with creating oceans.
If you haven’t already, please read the Config Development Introduction & Creating A Pack From Scratch for more information before continuing.
If you’re stuck or need an example, you can find reference config packs for this guide on the GitHub repo.
Setting up Oceans
PROCEDURE
1. Add ocean biome config
An ocean biome config is necessary to generate oceans and customize the features within them.
Create a blank config file with the file name ocean_biome.yml.
Set the config type via the type
parameter, and config id as shown below.
Set the rest of OCEAN_BIOME parameters as the sample below.
 1id: OCEAN_BIOME
 2type: BIOME
 3
 4vanilla: minecraft:ocean
 5
 6terrain:
 7  sampler:
 8    type: EXPRESSION
 9    dimensions: 3
10    expression: -y + 32
11
12  sampler-2d:
13    type: EXPRESSION
14    dimensions: 2
15    expression: (simplex(x, z)+1) * 4
16    samplers:
17      simplex:
18        type: OPEN_SIMPLEX_2
19        dimensions: 2
20        frequency: 0.04
21
22palette:
23  - SAND_PALETTE: 319
24  - BLOCK:minecraft:bedrock: -61
OCEAN_BIOME generates terrain at a lower y-level for water to eventually fill up above.
2. Add ocean biome to pipeline
OCEAN_BIOME will have to be added to the biome pipeline in order to distribute it within the world generation.
Open your pack manifest in your editor of choice.
Add the following lines below to add an ephemeral ocean pipeline biome with a source noise sampler.
 1id: YOUR_PACK_ID
 2
 3...
 4
 5biomes:
 6  type: PIPELINE
 7  resolution: 4
 8  blend:
 9    amplitude: 2
10    sampler:
11      type: OPEN_SIMPLEX_2
12      frequency: 0.1
13  pipeline:
14    source:
15      type: SAMPLER
16      sampler:
17        dimensions: 2
18        type: OPEN_SIMPLEX_2
19        frequency: 0.004
20      biomes:
21        - land: 1
22        - ocean: 1
23    stages:
24      - type: REPLACE
25        sampler:
26          type: OPEN_SIMPLEX_2
27          frequency: 0.01
28        from: land
29        to:
30          - FIRST_BIOME: 1
31          - SECOND_BIOME: 1
32      - type: REPLACE
33        sampler:
34          type: OPEN_SIMPLEX_2
35          frequency: 0.01
36        from: ocean
37        to:
38          - OCEAN_BIOME: 1
An ephemeral ocean biome will generate with the ephemeral land biome.
The ephemeral ocean biome is replaced by the OCEAN_BIOME in a REPLACE stage later on.
Don’t forget to replace the CONSTANT sampler for the source ephemeral
pipeline biomes
,or only OCEAN_BIOME will generate in the world.
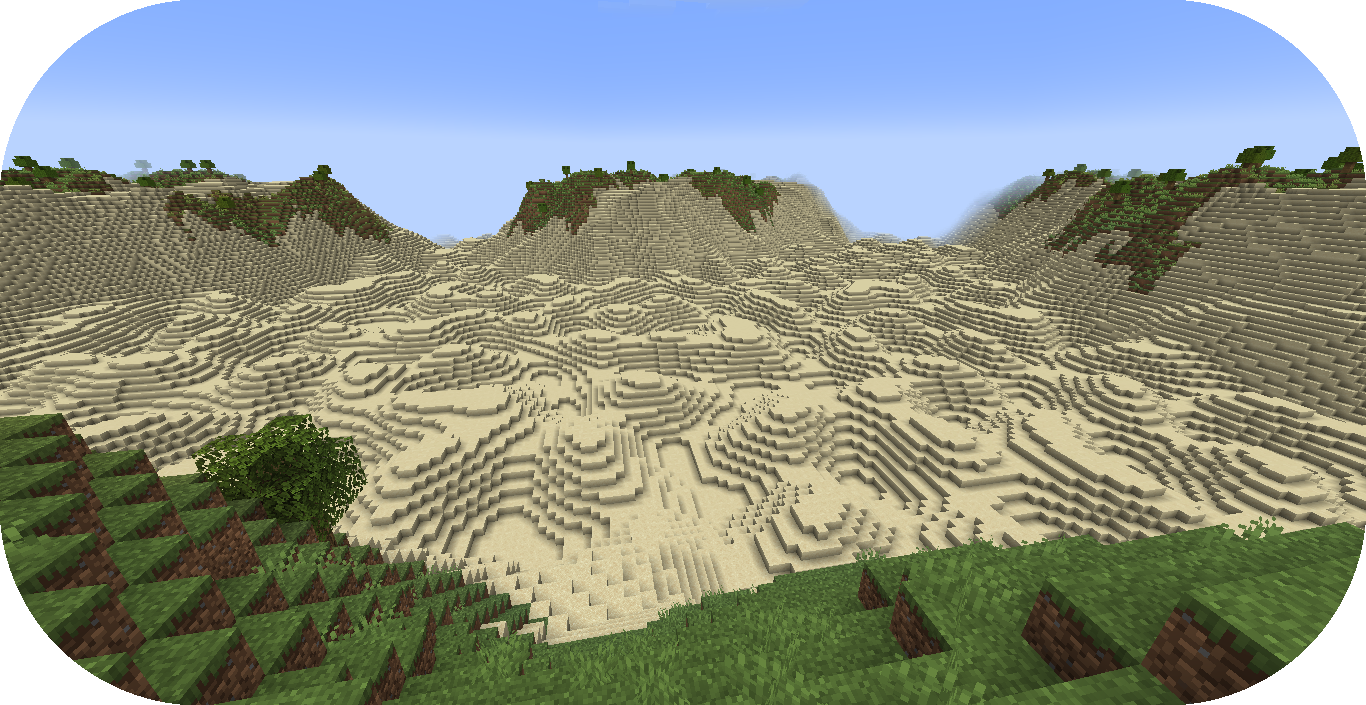
Loading up the world with the newly added OCEAN_BIOME will present empty oceans
without any water currently.
3. Add ocean palette
Water will be needed to fill your oceans.
This can be done through an ocean palette.
Open OCEAN_BIOME in your editor of choice.
Add the following lines to add an ocean palette to OCEAN_BIOME.
 1id: OCEAN_BIOME
 2type: BIOME
 3
 4vanilla: minecraft:ocean
 5
 6...
 7
 8palette:
 9  - SAND_PALETTE: 319
10  - BLOCK:minecraft:bedrock: -61
11
12ocean:
13  palette: BLOCK:minecraft:water
14  level: 62
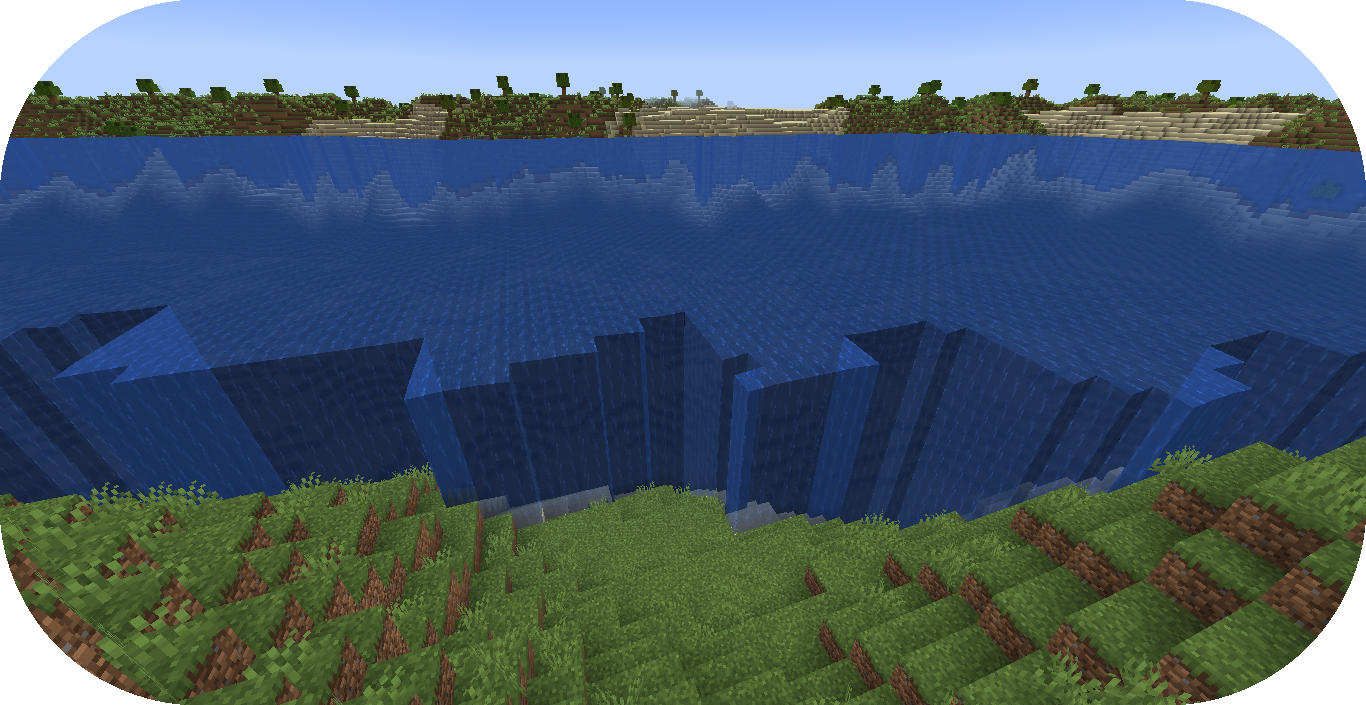
ocean.palette controls the material or block that will replace air blocks.
ocean.level controls the max y-level that the ocean palette will fill.
In this case, ocean palette will place water blocks to fill any air blocks from y-level 62 down to the bottom of the world.
Important
An issue that should be noted with OCEAN_BIOME as the only biome config
with this ocean palette is how biome blending will show obvious air gaps
when blending with other biomes without this ocean palette.
You could add this ocean palette to every biome, but that can get tedious depending on the number of biomes that will require this ocean palette and a ocean palette change requiring an update to each biome config.
4. Add abstract config
In order to make it easier to configure the ocean palette across all biomes, an abstract config file will be put to use.
An abstract config file is very useful for parameters that are shared and repeated across several biome configs without having to configure the parameter in each config individually.
Create a blank config file with the file name base.yml.
Set the config type via the type
parameter, and config id as shown below.
1id: BASE
2type: BIOME
Add the following lines to make the config abstract and configure an ocean palette.
1id: BASE
2type: BIOME
3abstract: true
4
5ocean:
6  palette: BLOCK:minecraft:water
7  level: 62
The abstract parameter set to true will allow BASE to not require the mandatory
parameters that are typical for a BIOME config file.
Any parameters configured in this BASE config can be easily extended to any BIOME config file.
5. Extend abstract config
The biome configs will need to extend the BASE config in order to inherit its parameters.
Open OCEAN_BIOME in your editor of choice.
The ocean palette lines can be removed and add the following line to extend BASE.
 1id: OCEAN_BIOME
 2type: BIOME
 3extends: BASE
 4
 5vanilla: minecraft:ocean
 6
 7...
 8
 9palette:
10  - SAND_PALETTE: 319
11  - BLOCK:minecraft:bedrock: -61
OCEAN_BIOME will now inherit any parameters configured in BASE as it has
been listed in extends parameter of the OCEAN_BIOME config file.
Every biome config will need to extend BASE in order to inherit the ocean palette as well.
1id: FIRST_BIOME
2type: BIOME
3extends: BASE
4
5...
1id: SECOND_BIOME
2type: BIOME
3extends: BASE
4
5...
6. Load up your pack
At this stage, your pack should now be capable of generating oceans.
You can load up your pack by starting your development client / server which contains the pack you have just defined.
You can confirm that your pack has loaded if the pack id (as specified in the pack manifest) appears when using the
/packs command, or in your console when starting the server / client up.
If for whatever reason your pack does not load, an error message will show up in console explaining why the pack has failed to load, please read through any of these errors and try to interpret what you may have done wrong, and follow through the previous steps again carefully.
If you still are unable to load the pack, feel free to contact us with any relevant errors.
Conclusion
Once you have verified your pack has loaded correctly, you can now generate a world with oceans!
Reference configurations for this guide can be found on GitHub here.
