Pack Installation
Config packs are installed similarly to resource packs:
1. Download your config pack.
You can find a list of available packs on the Community Packs page.
Before proceeding, make sure to:
Check if the pack has specific installation instructions, and follow them if so.
Check that the pack you wish to install is compatible with your version of Terra.
Typically packs are distributed as .zip files, however they can be loaded from folders too.
If you are downloading a config pack from GitHub, first check out the README section which can be found by scrolling down below the source files. This may contain additional important information and or instructions for the config pack.
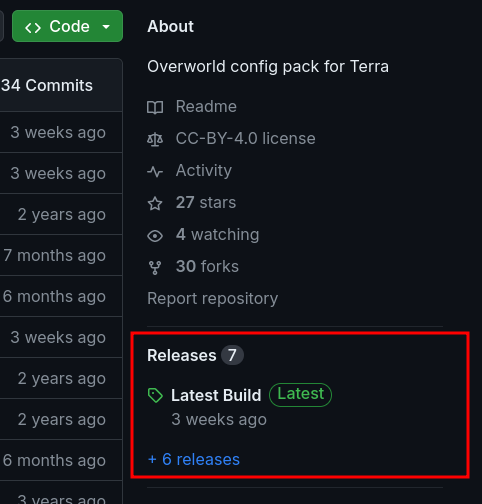
If the README does not contain explicit instructions on how to download and install the config pack then look for the Releases section:

Navigate to it
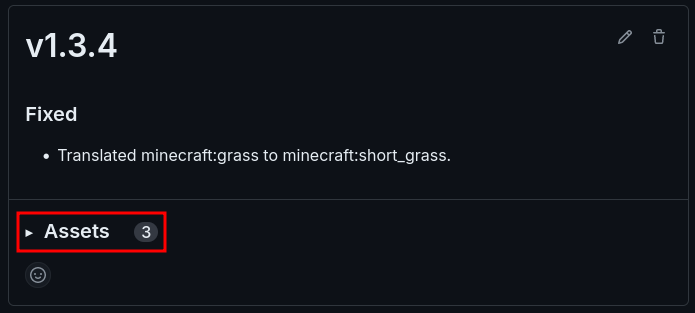
Once you’re on the releases page, find the release you want to use
Expand the ‘Assets’ drop down if it is not already expanded:

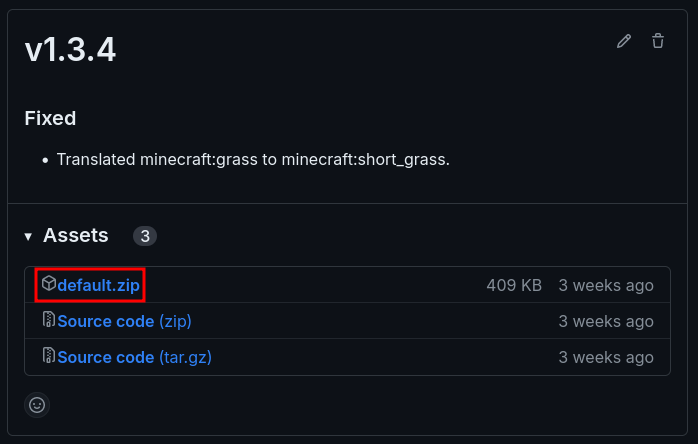
4. Download the relevant .zip corresponding to the config pack.
Do not download files labelled as ‘Source code’, the name of the file
may be different and depends on what the config pack maintainer has uploaded it as.

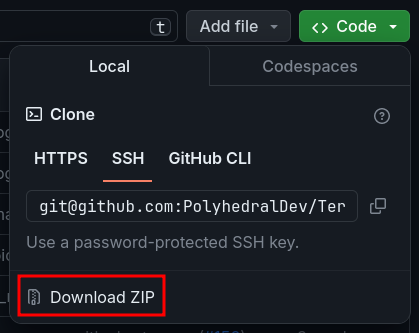
Find the Code drop down:

Click Download ZIP:

This should download a .zip file, containing a folder.
Unzip or open the
.zipfile using a graphical tool like 7zip or WinRAR.
4. From the zip contents, find the folder containing pack.yml. This
will typically be the first folder directly inside the zip, but might not necessarily
be the case.
For example, the pack is highlighted inside the zip file:

This folder is the config pack you install.
Note
If you wish to re-zip this folder to upload to a server, make sure the contents of the config pack are directly inside the zip at the top level and not nested within a folder like how GitHub packages source code.
2. Place the config pack into the packs directory.
This will differ slighly between versions:
Fabric -
/config/Terra/packsBukkit -
/plugins/Terra/packs
3. Ensure the correct directory structure.
Generally, packs will be set up to simply be dropped into the packs folder when they’re distributed
as a .zip file.
If this is not the case, or the pack fails to load, ensure that the pack manifest or pack.yml is
contained directly inside the folder / archive like so:
CORRECT - Terra/packs/pack-to-be-installed/pack.yml
Terra/
├── packs/
┆   ├── default.zip
    └── pack-to-be-installed/
        ├── pack.yml
        ┆
INCORRECT - Terra/packs/pack-to-be-installed/<Folder>/pack.yml
Terra/
├── packs/
┆   ├── default.zip
    └── pack-to-be-installed/
        └── folder/
            └── pack.yml
4. Verify the pack loads
Start up your client / server and look for the pack ID in console. If you see:
[XX:XX:XX INFO]: [Terra] Loading config pack "CUSTOM"
[XX:XX:XX INFO]: [Terra] CUSTOM <PACK VERSION> by <AUTHOR> loaded in XXXX.XXXXms.
Then your pack should be ready for use.