Creating a Palette From Scratch
This guide will continue the process of creating a new Terra config pack from the beginning with creating a new palette.
If you haven’t already, please read the Config Development Introduction & Creating A Pack From Scratch for more information before continuing.
If you’re stuck or need an example, you can find reference config packs for this guide on the GitHub repo.
Setting up a New Palette
PROCEDURE
1. Create your palette config
Palettes define the blocks that will make up each layer of terrain.
Open your pack manifest in your editor of choice.
Add the config-palette addon as a dependency, using versions 1.+.
This addon will allow us to create palette config files.
1id: YOUR_PACK_ID
2version: 0.2.0
3
4addons:
5  language-yaml: "1.+"
6  chunk-generator-noise-3d: "1.+"
7  ...
8  config-palette: "1.+"
Create a blank config file with the file name grass_palette.yml.
Set the config type via the type
parameter, and config id as shown below.
1id: GRASS_PALETTE
2type: PALETTE
2. Add palette layers
Palette configs consist of palette layers that each contain the materials or blocks for that layer.
Each palette layer also includes the number of layers that the blocks will span across on the y-axis.
Add the highlighted lines below to your palette config to create the palette layers for grass_palette.yml.
 1id: GRASS_PALETTE
 2type: PALETTE
 3
 4layers:
 5   # Top palette layer
 6   - materials: minecraft:grass_block
 7     layers: 1
 8
 9   # Second palette layer that will be 2 layers thick
10   - materials: minecraft:dirt
11     layers: 2
12
13   # Last palette layer. Also will make up the rest of the palette
14   - materials: minecraft:stone
15     layers: 1 #
Tip
Palette layers can select from a weighted list of blocks alongside each layer being capable of using a noise sampler to influence the block selection for terrain generation.
 1layers:
 2  - materials:
 3      - minecraft:grass_block: 3
 4      - minecraft:coarse_dirt: 1
 5      - minecraft:snow_block: 5
 6    layers: 1
 7    sampler:
 8      type: DOMAIN_WARP
 9      amplitude: 1
10      warp:
11        type: GAUSSIAN
12      sampler:
13        type: OPEN_SIMPLEX_2
14        frequency: 0.02
15  - materials:
16      - minecraft:coarse_dirt: 1
17      - minecraft:dirt: 2
18    layers: 1
19    sampler:
20      type: WHITE_NOISE
21      salt: 9231
22  - materials: minecraft:stone
23    layers: 1
Weighted lists covered in detail here.
3. Apply palette to biome
4. Load up your pack
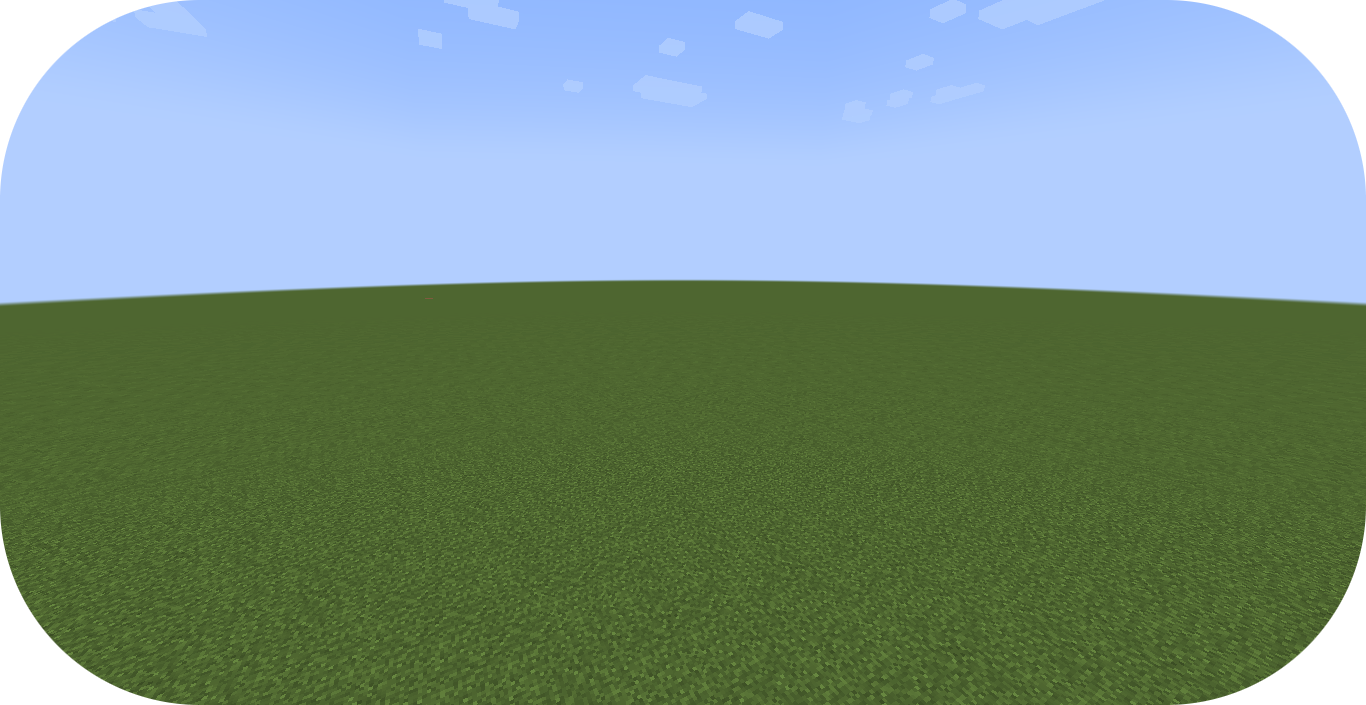
At this stage, your pack should now be capable of generating a palette with grass blocks with dirt and stone underneath!
You can load up your pack by starting your development client / server which contains the pack you have just defined.
You can confirm that your pack has loaded if the pack id (as specified in the pack manifest) appears when using the
/packs command, or in your console when starting the server / client up.
If for whatever reason your pack does not load, an error message will show up in console explaining why the pack has failed to load, please read through any of these errors and try to interpret what you may have done wrong, and follow through the previous steps again carefully.
If you still are unable to load the pack, feel free to contact us with any relevant errors.
5. Additional Palette of bedrock
Conclusion
Once you have verified your pack has loaded correctly, you can now generate a world with palettes!
Reference configurations for this guide can be found on GitHub here.