Config Development Introduction
This section goes over some general information, and the basic setup preceding actual config pack development.
1. Setting Up Your Test Environment
Warning
Do not follow the rest of this guide on any live production environment.
Before beginning development on a new pack, you will need a suitable server or client to test with. We recommend using a Fabric client to develop config packs on, however this choice is ultimately up to you. You can refer to the Getting Started page for instructions on how to get Terra up and running on your desired platform.
Accessing Console
Once you have Terra running on your platform of choice, you should ensure you have access to your console. This will be dependent on the platform you’re running Terra on, as well as the launcher or wrapper you start it from. We won’t be covering how to find the console on every platform as that is outside the scope of this guide.
Mojang Minecraft Launcher
1. Start the launcher and navigate to the settings page by clicking on this button in the bottom left:

Enable displaying the output log on game startup here:

A window with the console log will now open when you start Minecraft.
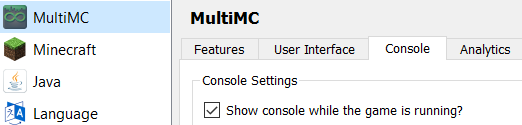
MultiMC Launcher
Open up the MultiMC settings window.
Enable console log display on launch:
A window with the console log will now open when you start Minecraft.
Picking an Editor
When developing config packs, an editor will be the main tool you use, so It’s important that you use a suitable one for the job. You’re free to use any editor you’re comfortable with, but we highly suggest using one with the following features:
Syntax Highlighting
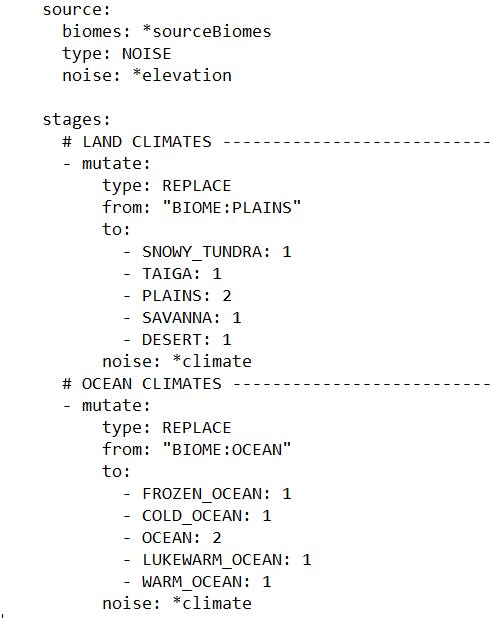
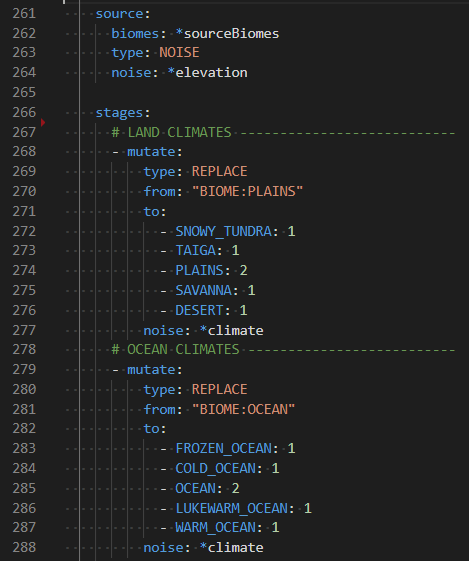
Having syntax highlighting in an editor will make understanding and writing configs much easier, as you will be able to tell at a glance how things are structured. To emphasize this point, here is a comparison:
Without Highlighting
With Highlighting
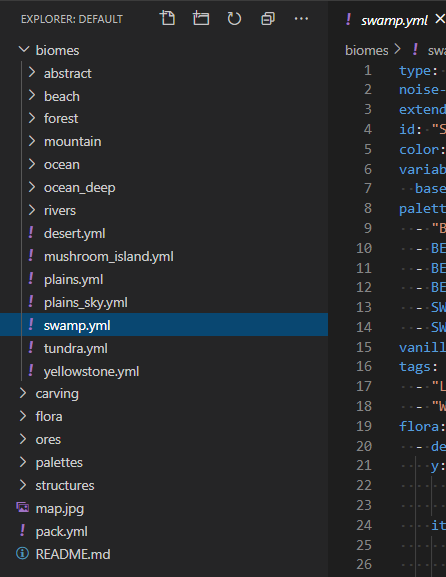
Built In File Explorer
Using a text editor which lets you open entire folders as projects rather than just individual files will make pack development more streamlined and convenient. The ability to quickly swap between configs, view your pack hierarchy at a glance, and manage subdirectories within your text editor is a must if you want to get things done conveniently. This will save you plenty of time not having to manage an external file editor on top of your editor tabs and or instances.
Recommended Editors
2. Locating the Terra Directory
You will need to know where the Terra directory is located, as this will be where all the files relevant to config development go:
/config/Terra/
/plugins/Terra/
Subdirectories
Within this directory are two subdirectories that you should know about:
Contains all your installed config packs. By default, Terra will come pre-installed
with a config pack under the file name default.zip inside this directory.
Contains all your installed addons. Similarly to the default pack, Terra will also come pre-installed with a set of Core Addons as explained at the beginning of this page.
3. Development Workflow
Loading From a Folder
Config packs within Terra/packs can be loaded directly from folders. You do not
have to zip a config pack every time you want to make a change, you can simply save
config files directly to your pack folder, which will be loaded by Terra.
Reloading
You do not have to create a new world every time you make a change to your config pack,
any changes you make can be reloaded live via the /packs reload command. If there
are no pack load errors, changes you’ve made to your pack will be reflected in newly
generated chunks in the current world (assuming it is set to generate using your pack).
Seeing Changes
After reloading, you will have to generate new chunks to see any changes you’ve made.
A quick way to do so is by running /tp ~ ~ ~1000 which will teleport you 1000
blocks in the positive Z axis, enough to be surrounded by fresh chunks. Note that
you should only run this after packs have successfully loaded, not during a reload.
Maintaining the same direction for flying is also recommended if you decide to do so rather than teleporting, so you don’t accidentally end up in old chunks (which may be confusing if you’re expecting to see new changes).
If you are developing on a Fabric client, then you can also utilize WorldEdit’s //regen
command to see how changes are reflected in a particular area (however this may be slower
than the teleport method if you don’t require seeing before / after). //regen is
currently not working on Bukkit as of Terra 6.4.3 (the current latest version as of writing).
4. Beginning Config Development
From this point on, you have the option of either beginning a new pack from scratch, or modifying an existing pack.
Starting from nothing is a great way to understand what every part of the process entails. You will learn how each part of config development connects together to construct a fully fledged world generator. If you want to make something totally unique and personalized for a server or personal project, or just want to learn how world generation works, we recommend following this guide.
Making changes to an existing pack is a more hands off approach where most of the heavy lifting has been done for you, great for if you just want to tweak a couple small details here and there. This guide won’t explain as much as the ‘from scratch’ guide, so if you’re having difficulties understanding how to make modifications, we recommend following that in addition to this guide.